§ Github 敏感词扫描工具-Gshark
§ 前言
github敏感信息泄露是很多企业时常忽视的一个问题,国外有一份研究报告显示,在超过24,000份的GitHub公开数据中,发现有数千个文件中可能包含敏感信息,所以我们需要在第一时间发现自己企业泄露了哪些信息,就需要借助一些工具来进行敏感信息扫描,下面要介绍的就是一款Github上的扫描工具-Gshark。
Gshark支持在三种平台部署运行,分别是Darwin(MacOS),Linux,Windows。
下面只介绍在Windows环境下的部署和使用
§ 一、环境准备
- Mysql 5.6及以上
- Nginx
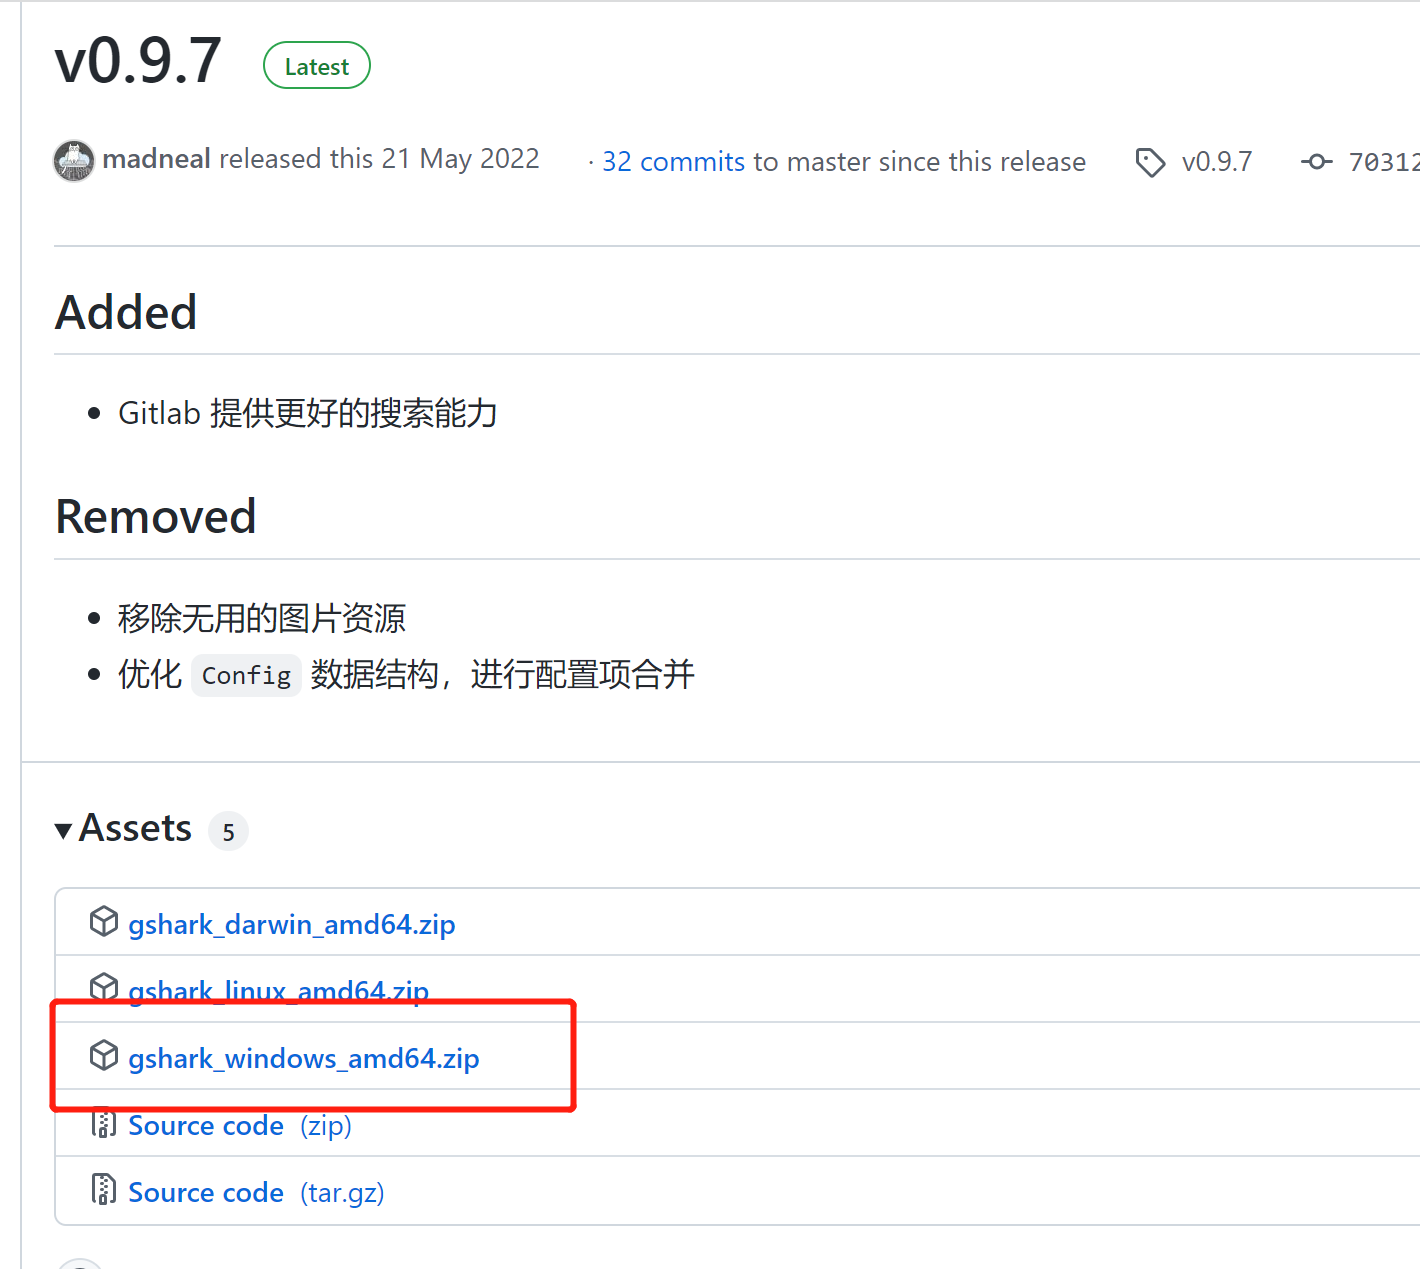
前往Github下载GShark的Releases包,Github地址:https://github.com/madneal/gshark (opens new window)
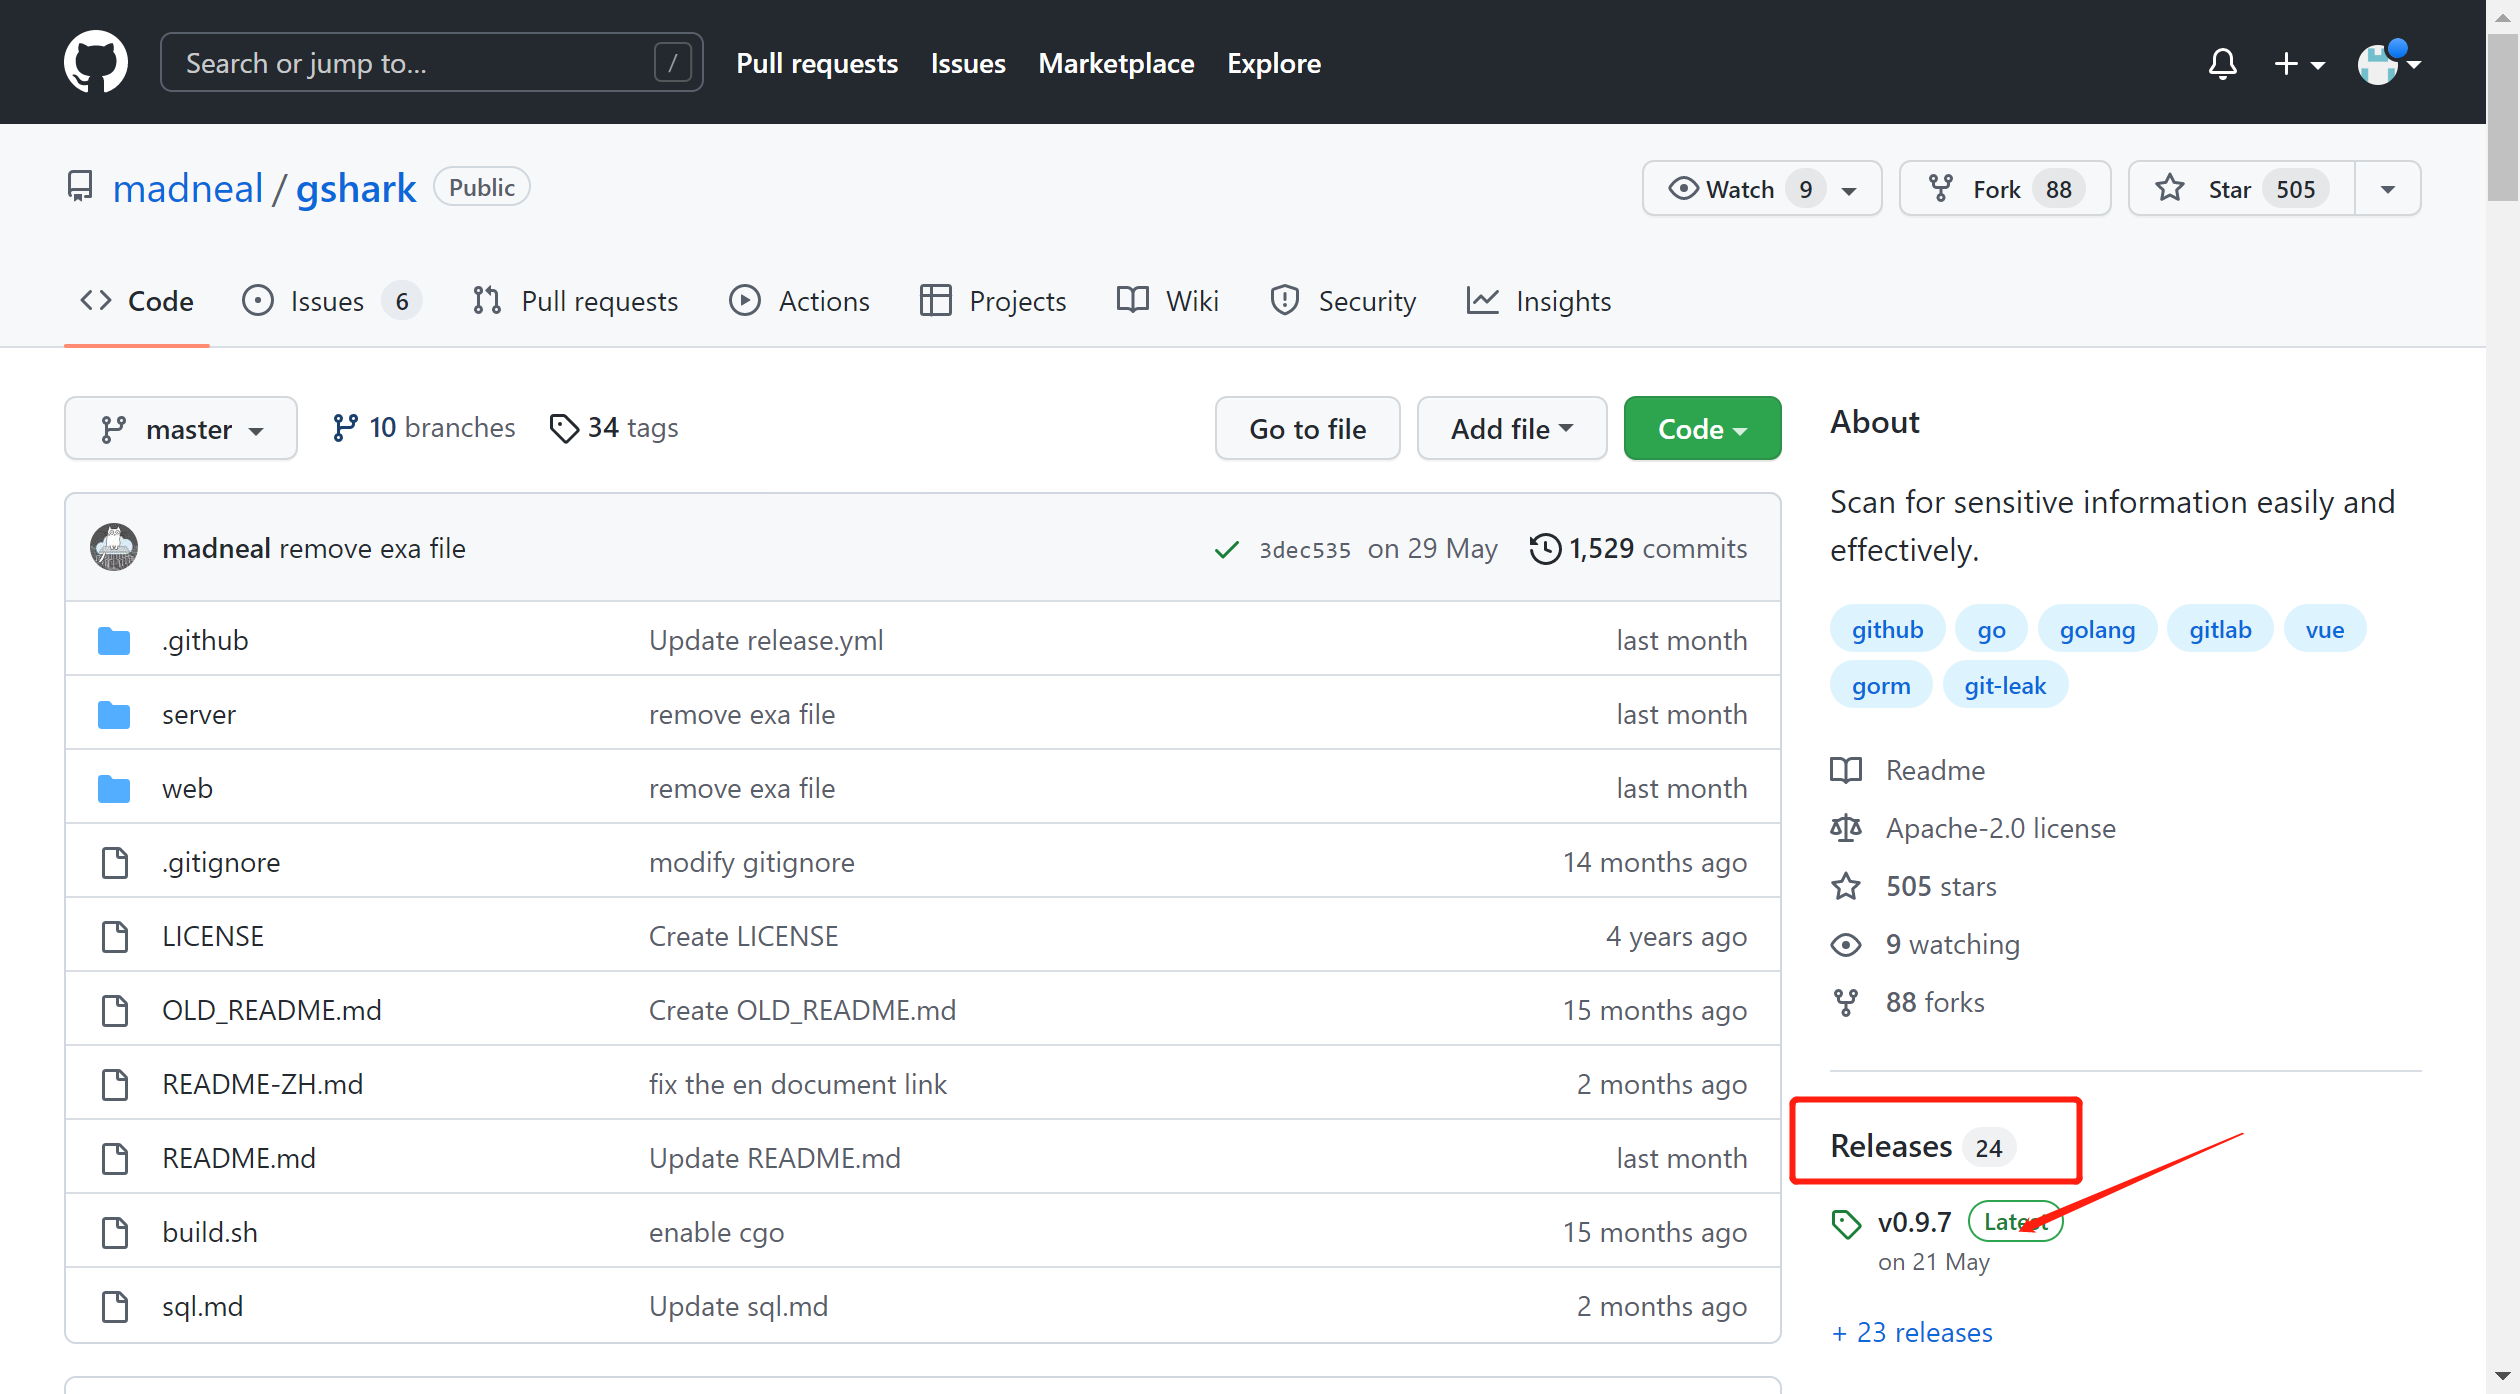
选择 gshark_windows_amd64.zip 进行下载
或者通过百度网盘进行下载:
链接:https://pan.baidu.com/s/1fvkDCSgRULBJA0n5BjP8XQ (opens new window) 提取码:071c
§ 二、部署
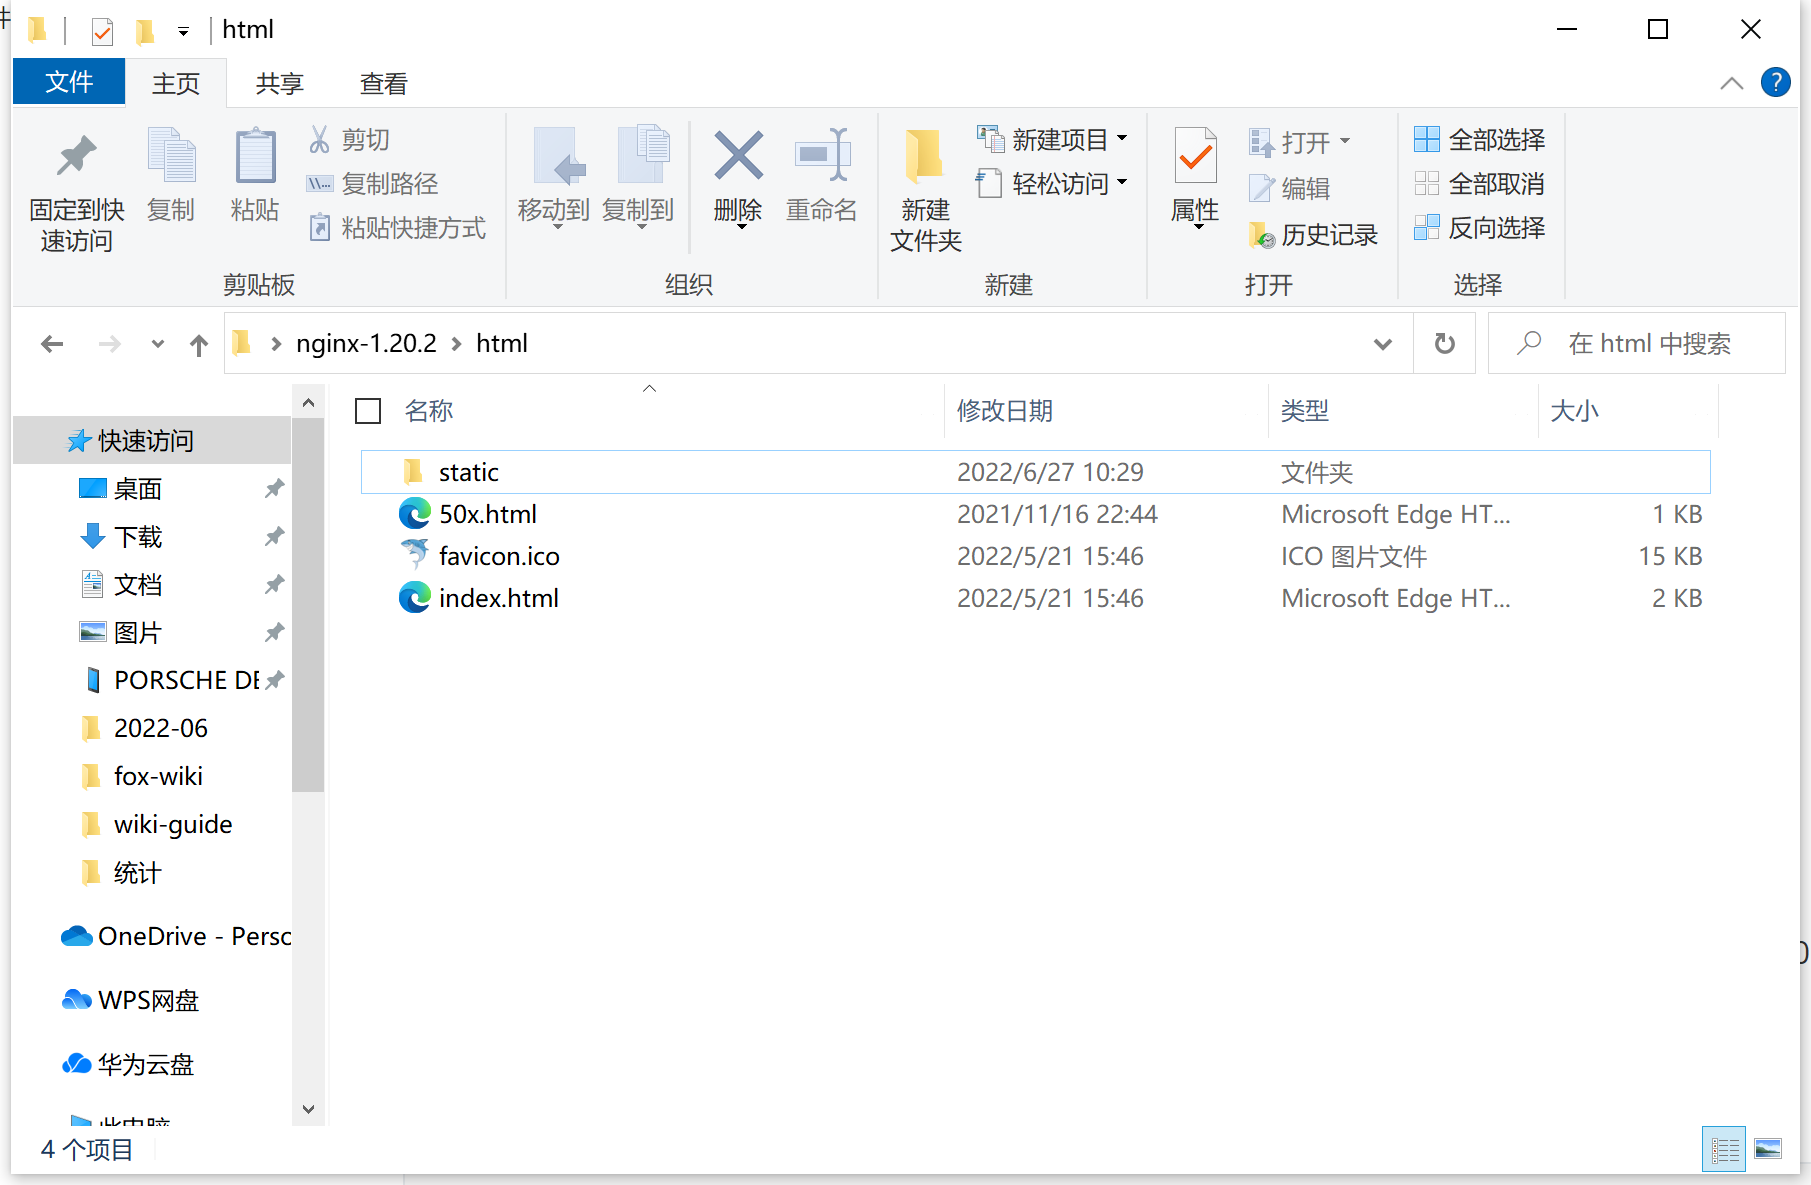
解压gshark_windows_amd64.zip文件:

进入\gshark_windows_amd64\dist文件夹,复制所有内容至已安装的nginx目录中:nginx-1.20.2\html\
修改 nginx-1.20.2\conf\nginx.conf 配置文件,添加 location-api 映射,修改 server-listen端口号为8080
worker_processes  1;

events {
    worker_connections  1024;
}

http {
    include       mime.types;
    default_type  application/octet-stream;

    sendfile        on;

    keepalive_timeout  65;

    #gzip  on;

    server {
        listen       8080;
        server_name  localhost;

        location / {
            root   html;
            index  index.html index.htm;
        }

	location /api/ {
	    proxy_set_header Host $http_host;
	    proxy_set_header  X-Real-IP $remote_addr;
	    proxy_set_header X-Forwarded-For $proxy_add_x_forwarded_for;
	    proxy_set_header X-Forwarded-Proto $scheme;
	    rewrite ^/api/(.*)$ /$1 break;
	    proxy_pass http://127.0.0.1:8888;
	}
        #error_page  404              /404.html;

        # redirect server error pages to the static page /50x.html
        #
        error_page   500 502 503 504  /50x.html;
        location = /50x.html {
            root   html;
        }
    }

}
2
3
4
5
6
7
8
9
10
11
12
13
14
15
16
17
18
19
20
21
22
23
24
25
26
27
28
29
30
31
32
33
34
35
36
37
38
39
40
41
42
43
44
45
使用cmd命令,进入nginx目录,启动nginx
start nginx
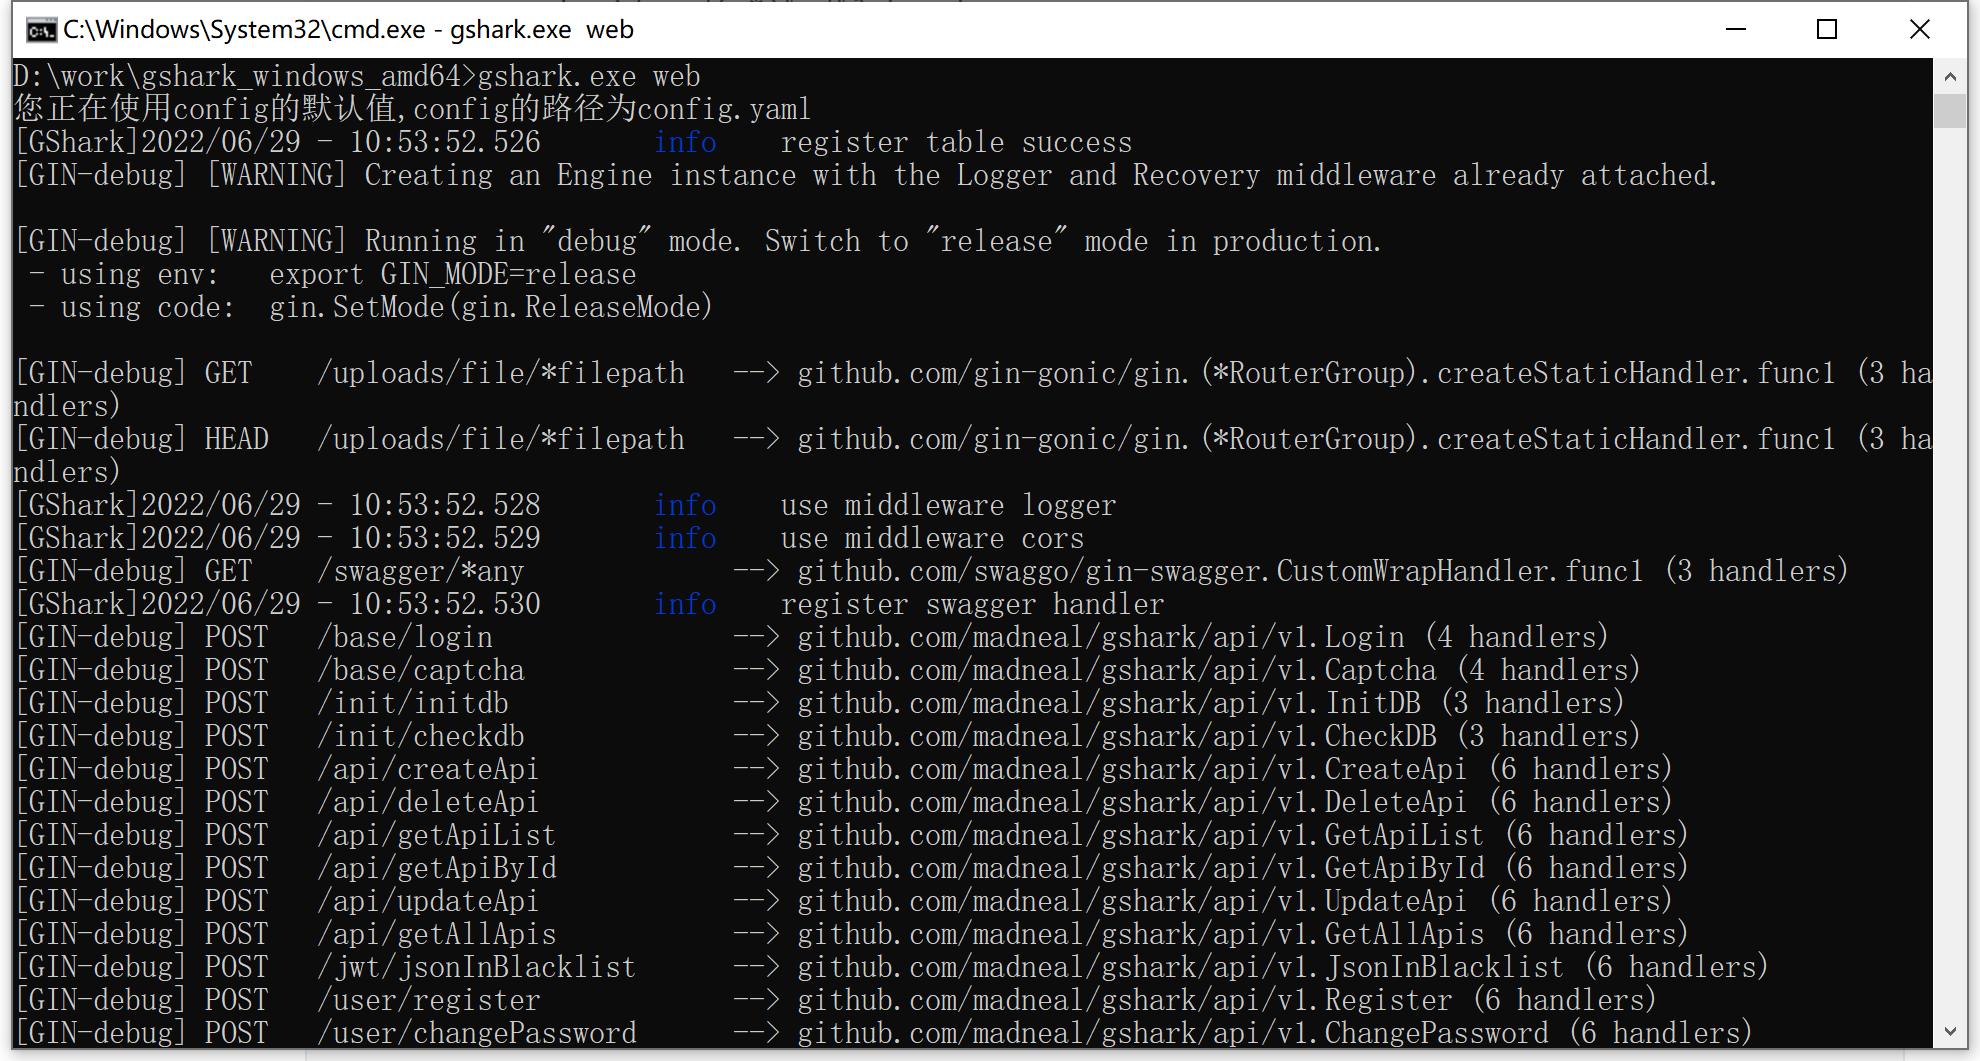
进入gshark_windows_amd64解压目录,使用cmd命令,启动gshark
gshark.exe web
§ 三、使用
§ 1. 扫描之前的准备
在上面的发布完成之后,在浏览器访问
http://localhost:8080,进入web端,首次登入会需要初始化数据库,只要输入数据库用户名、密码以及数据库名即可。进入系统,输入用户名和密码(默认都是 gshark)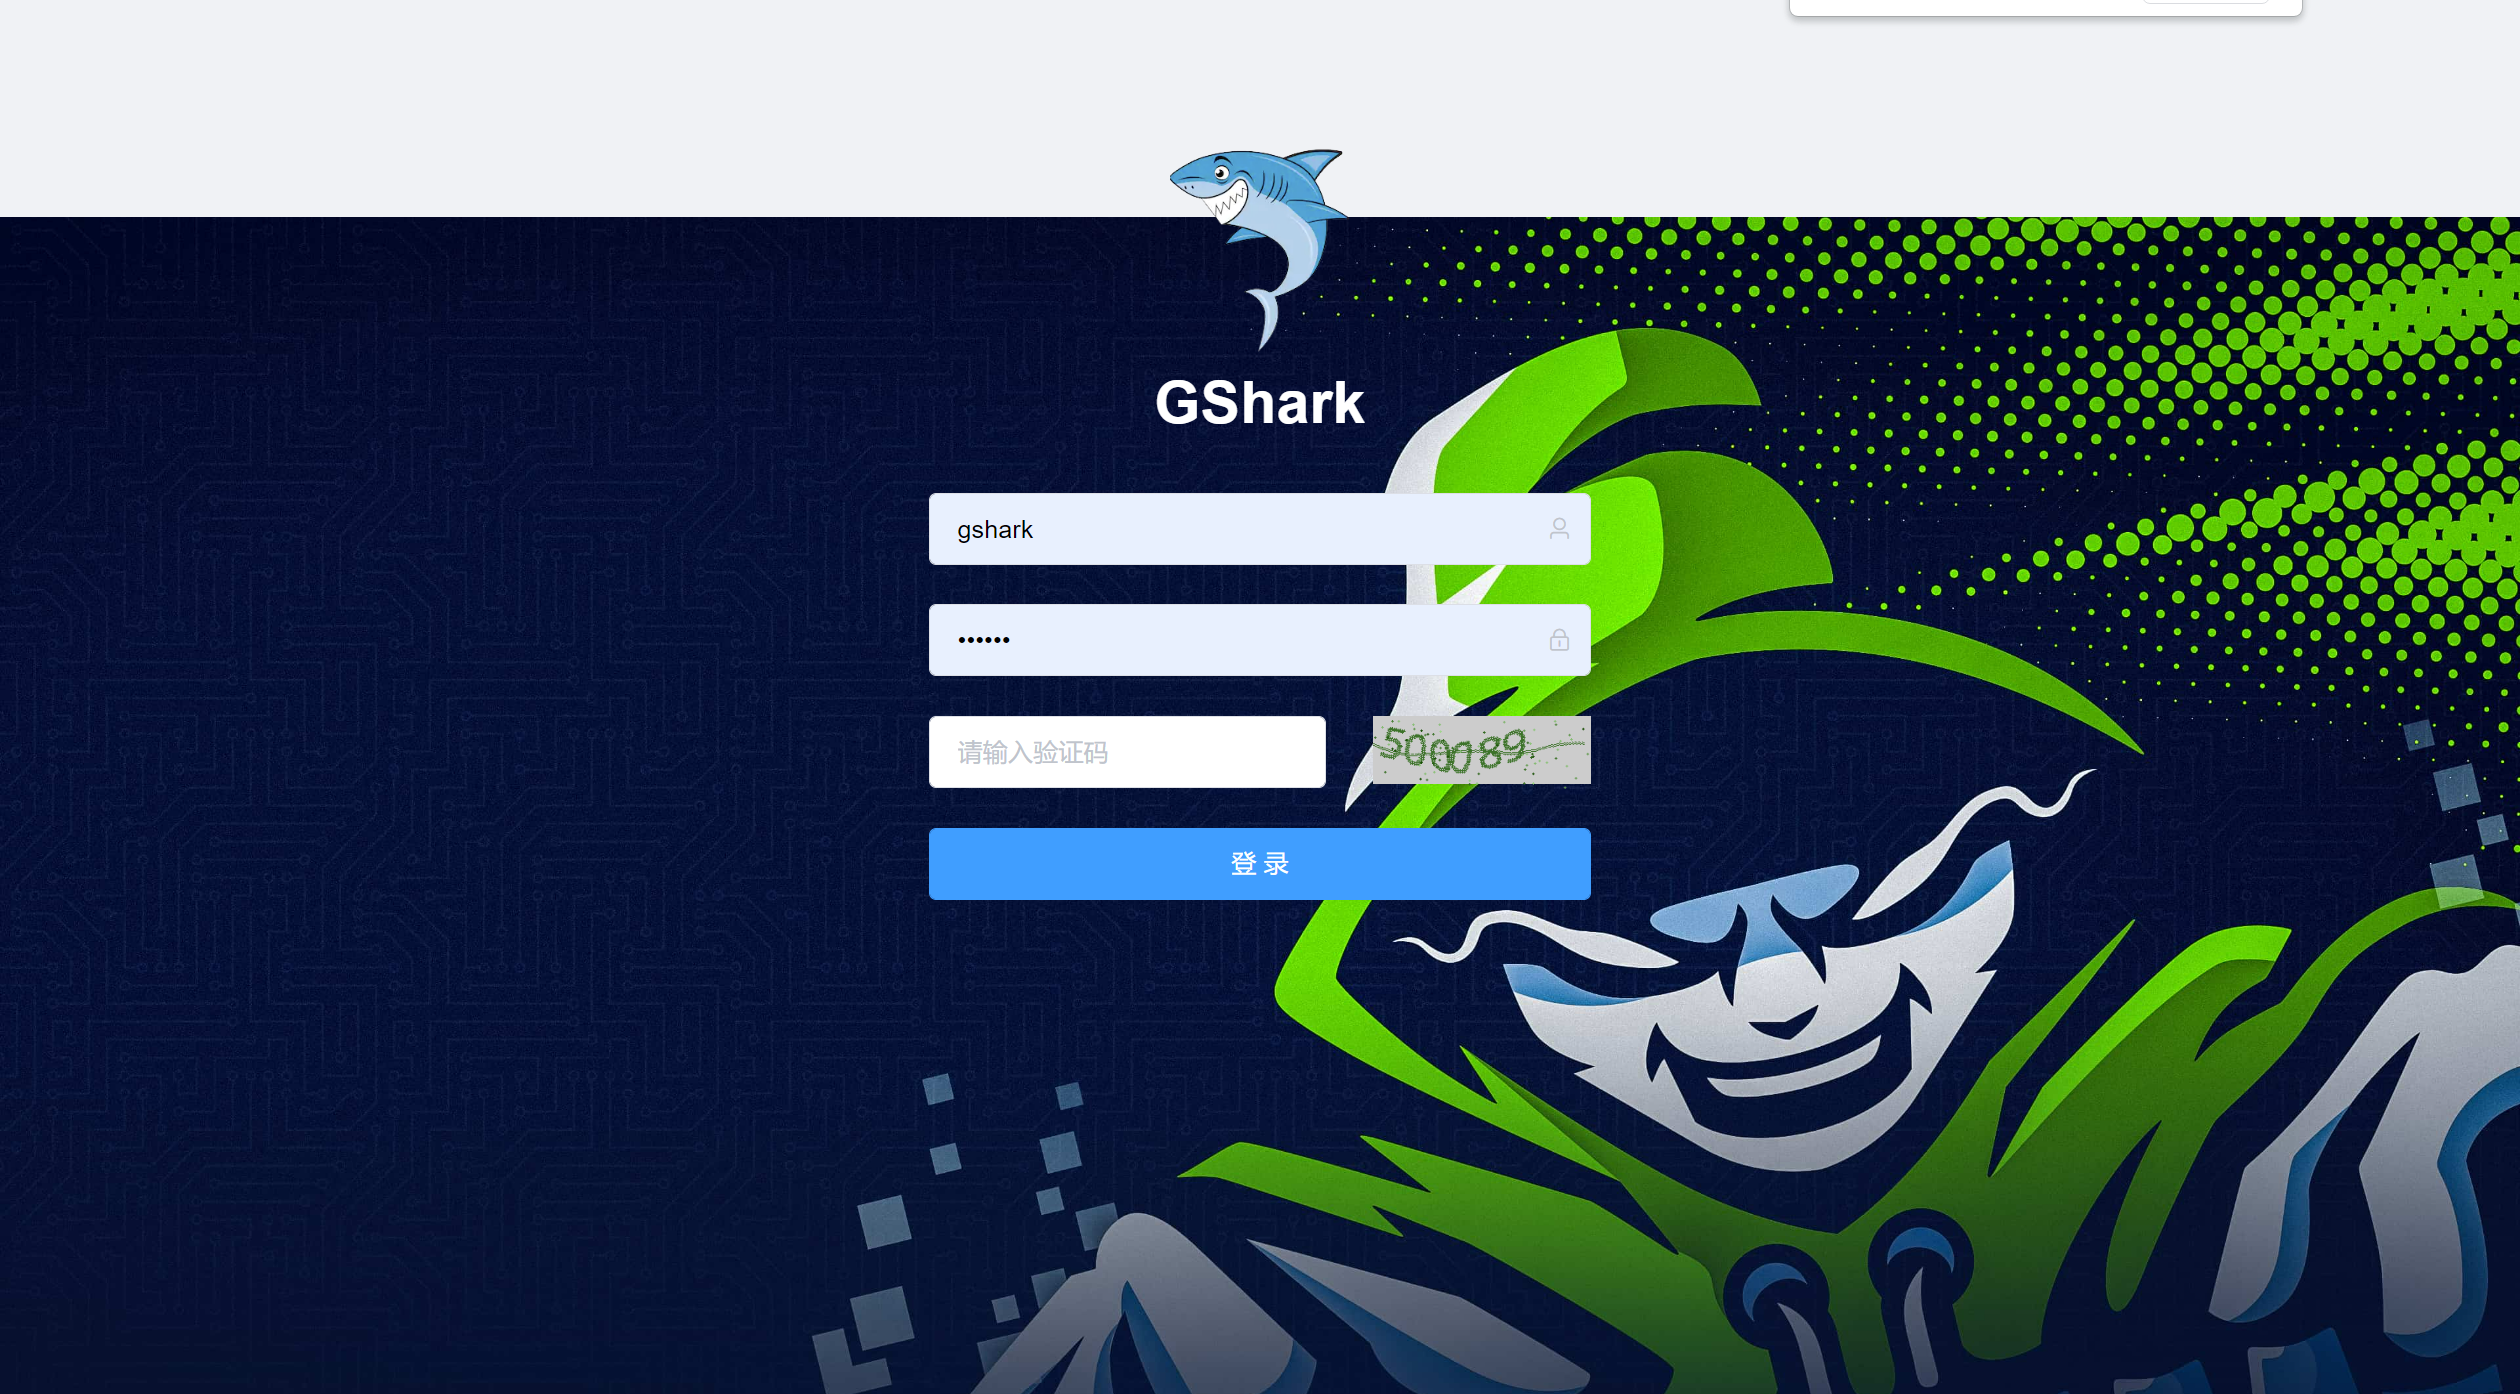
在开启扫描服务之前,首先需要添加 Github 或者 Gitlab 的 token,这个可以在 token管理菜单下进行添加。另外也需要根据自己的需求在规则管理里添加规则:
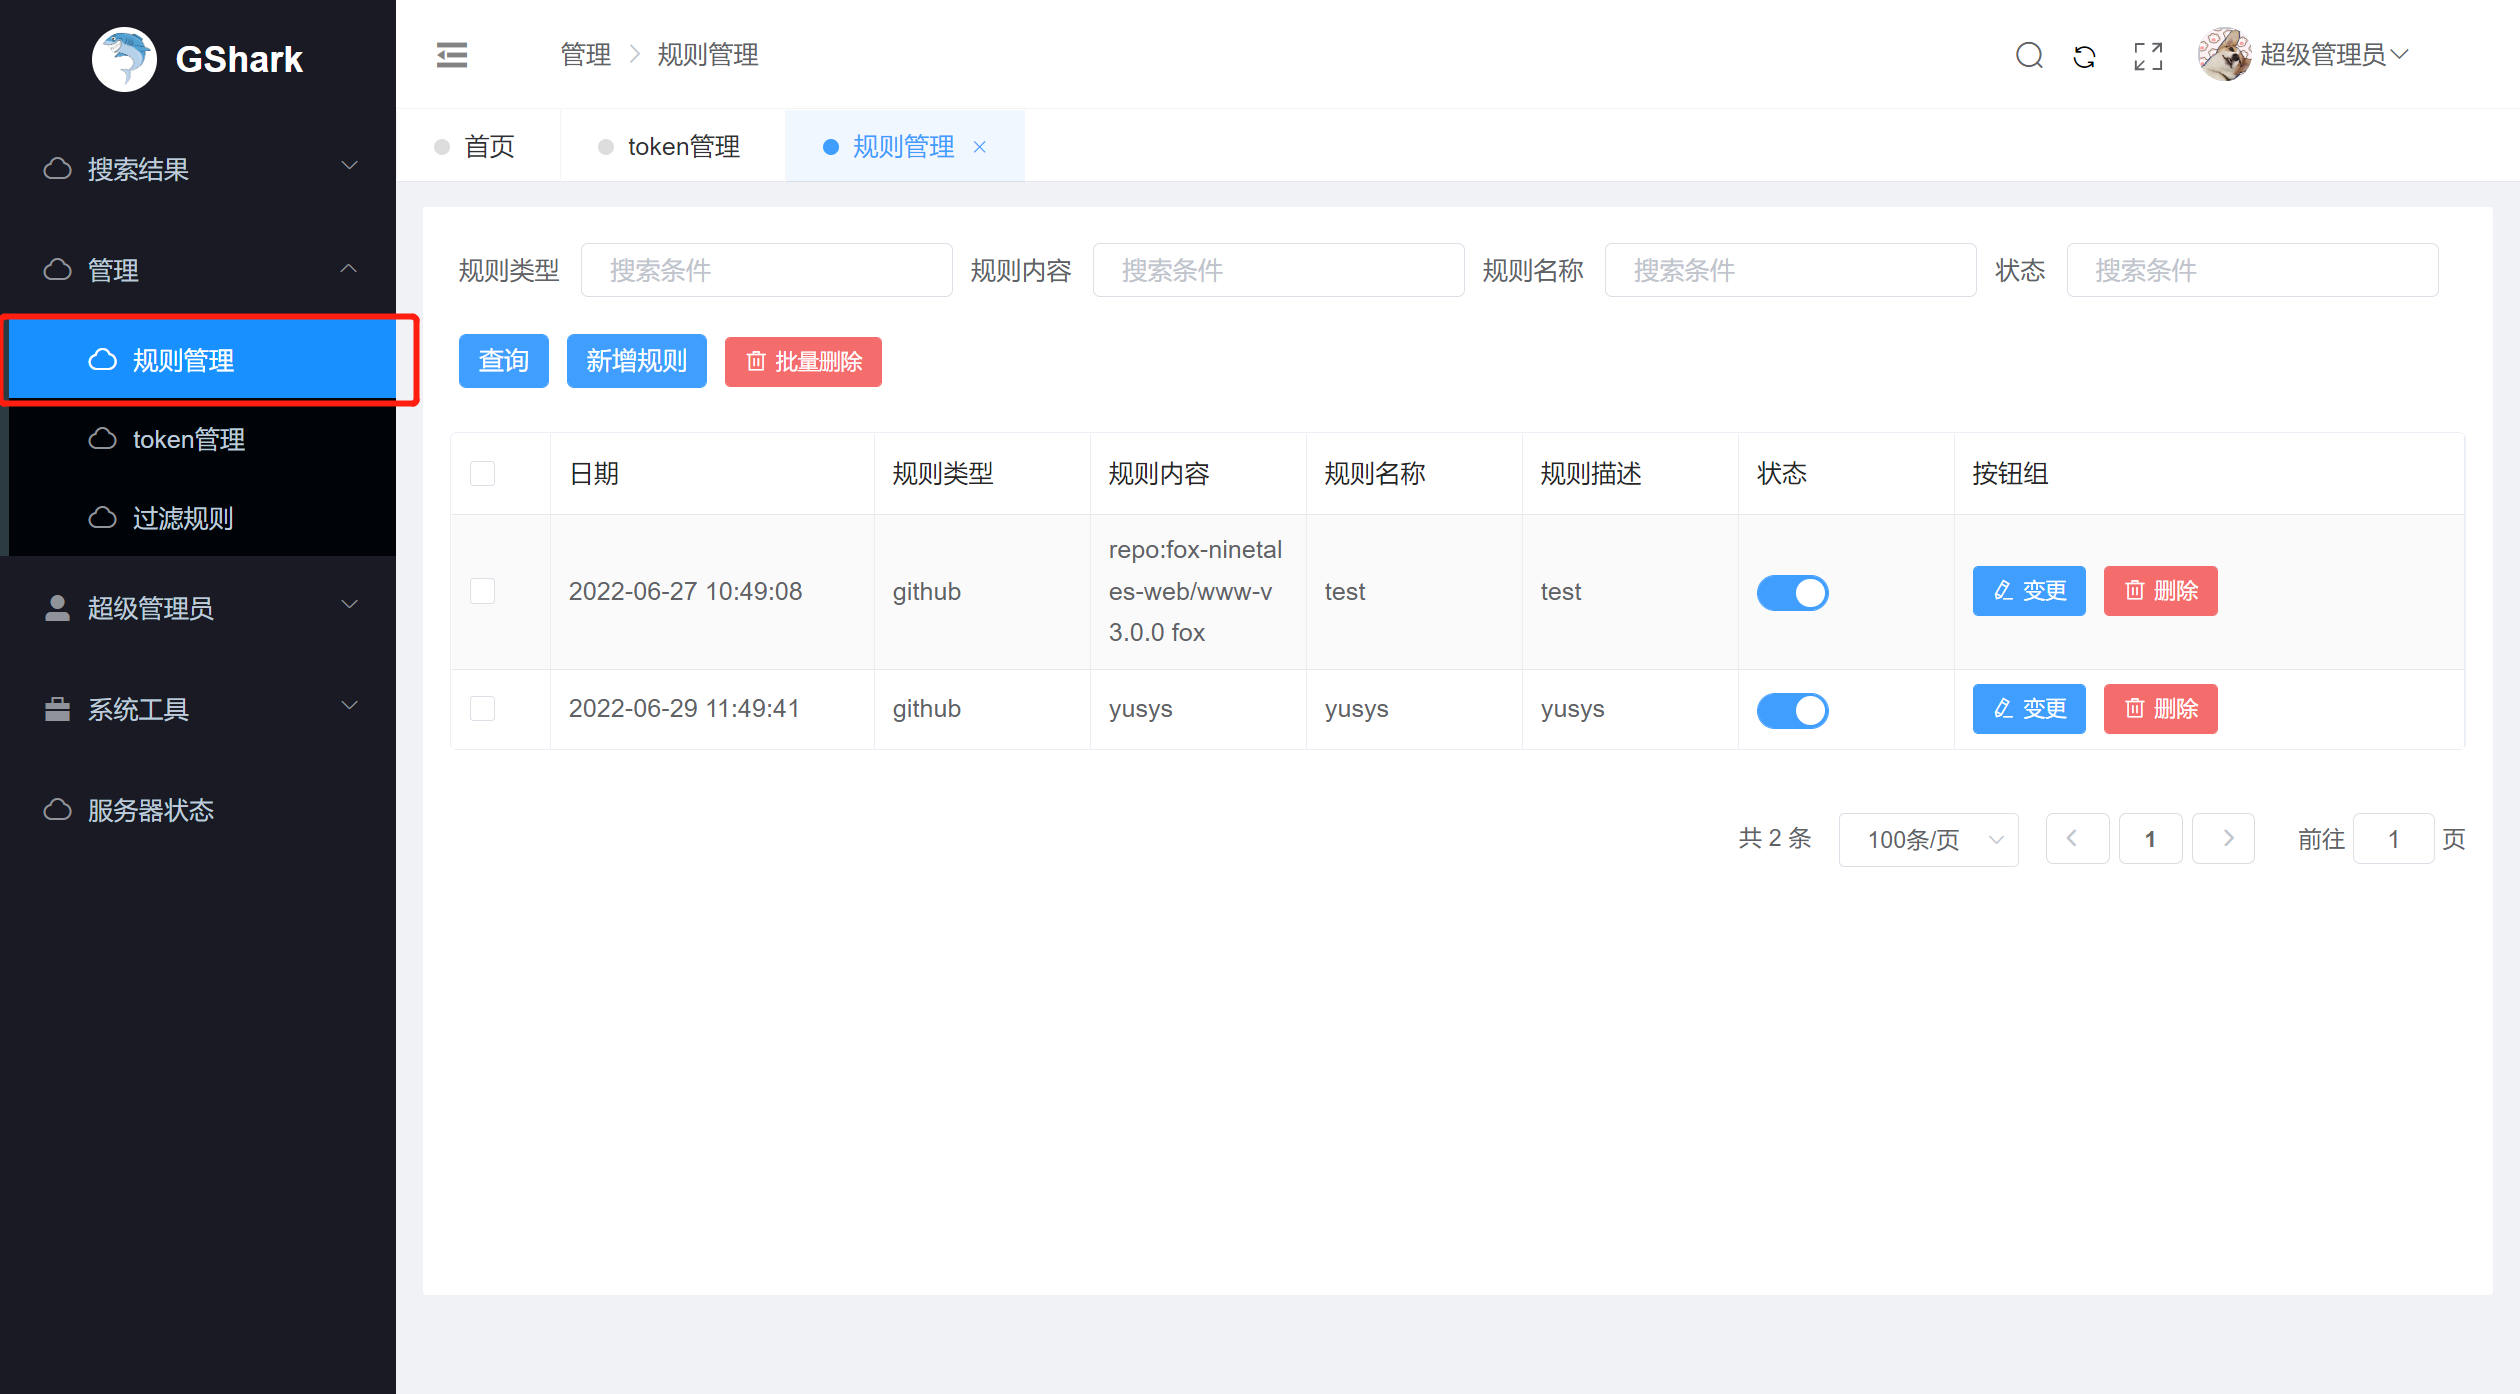
规则内容说明:repo[指定仓库]:[github仓库地址] [关键字]
例如 repo:fox-ninetales-web/www-v3.0.0 fox ,就代表在 fox-ninetales-web/www-v3.0.0 这个项目中,查找含有关键字 fox 的内容。
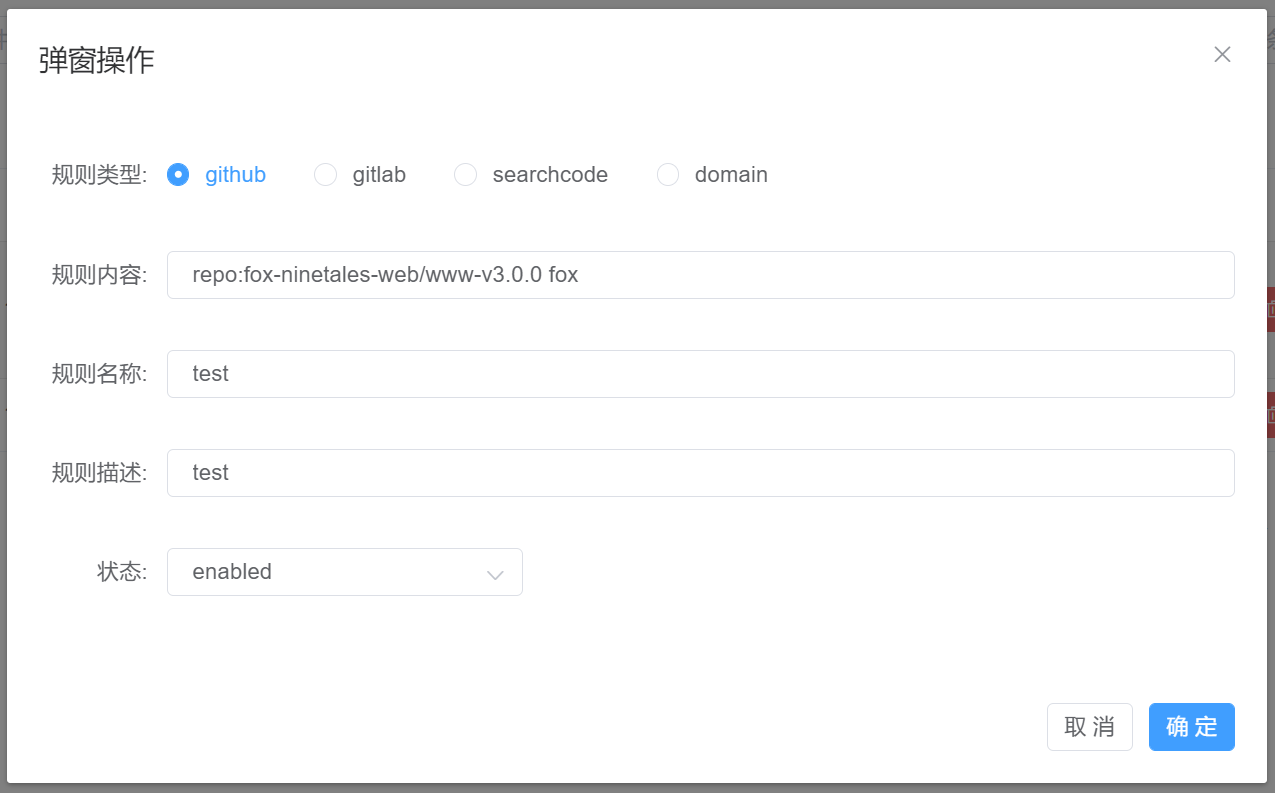
- 如果不指定仓库,进行全网扫描,就只需要在规则内容中输入关键字即可。
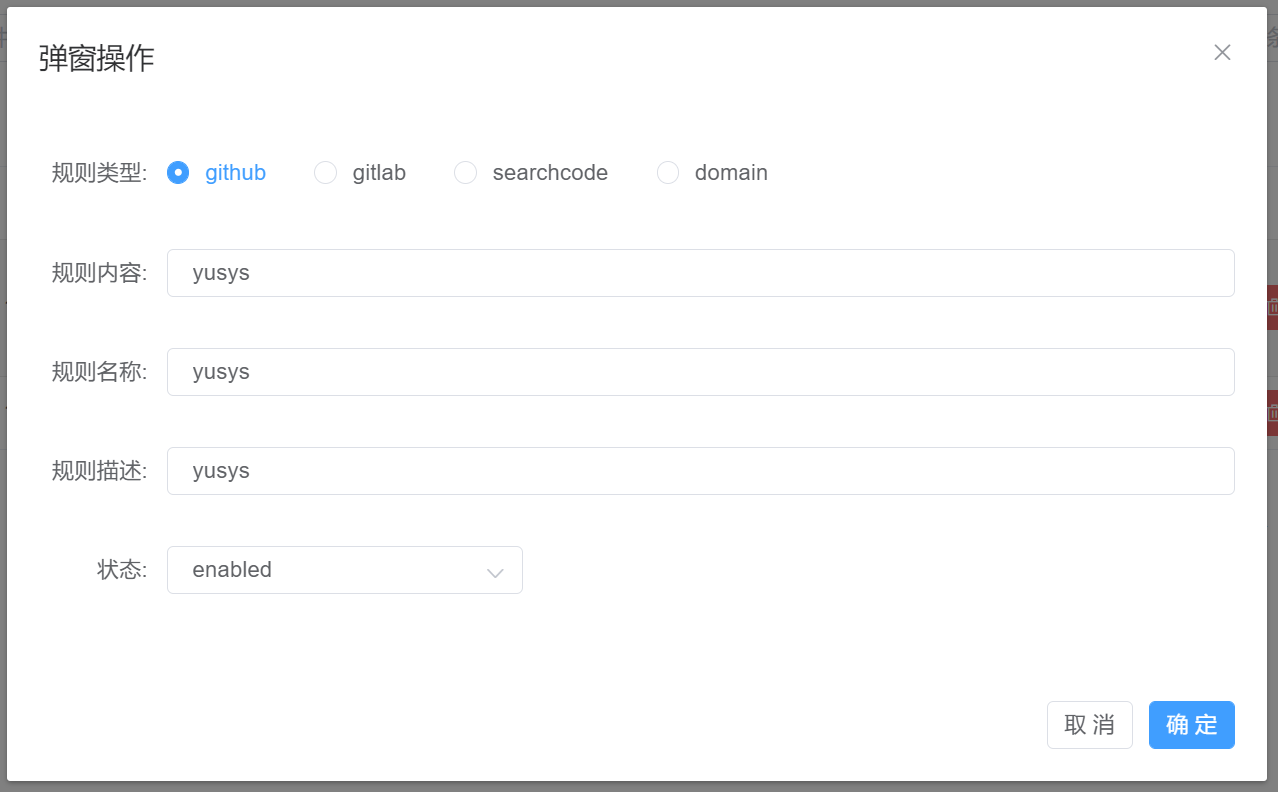
- 选择enabled或disabled可以启用或关闭该规则
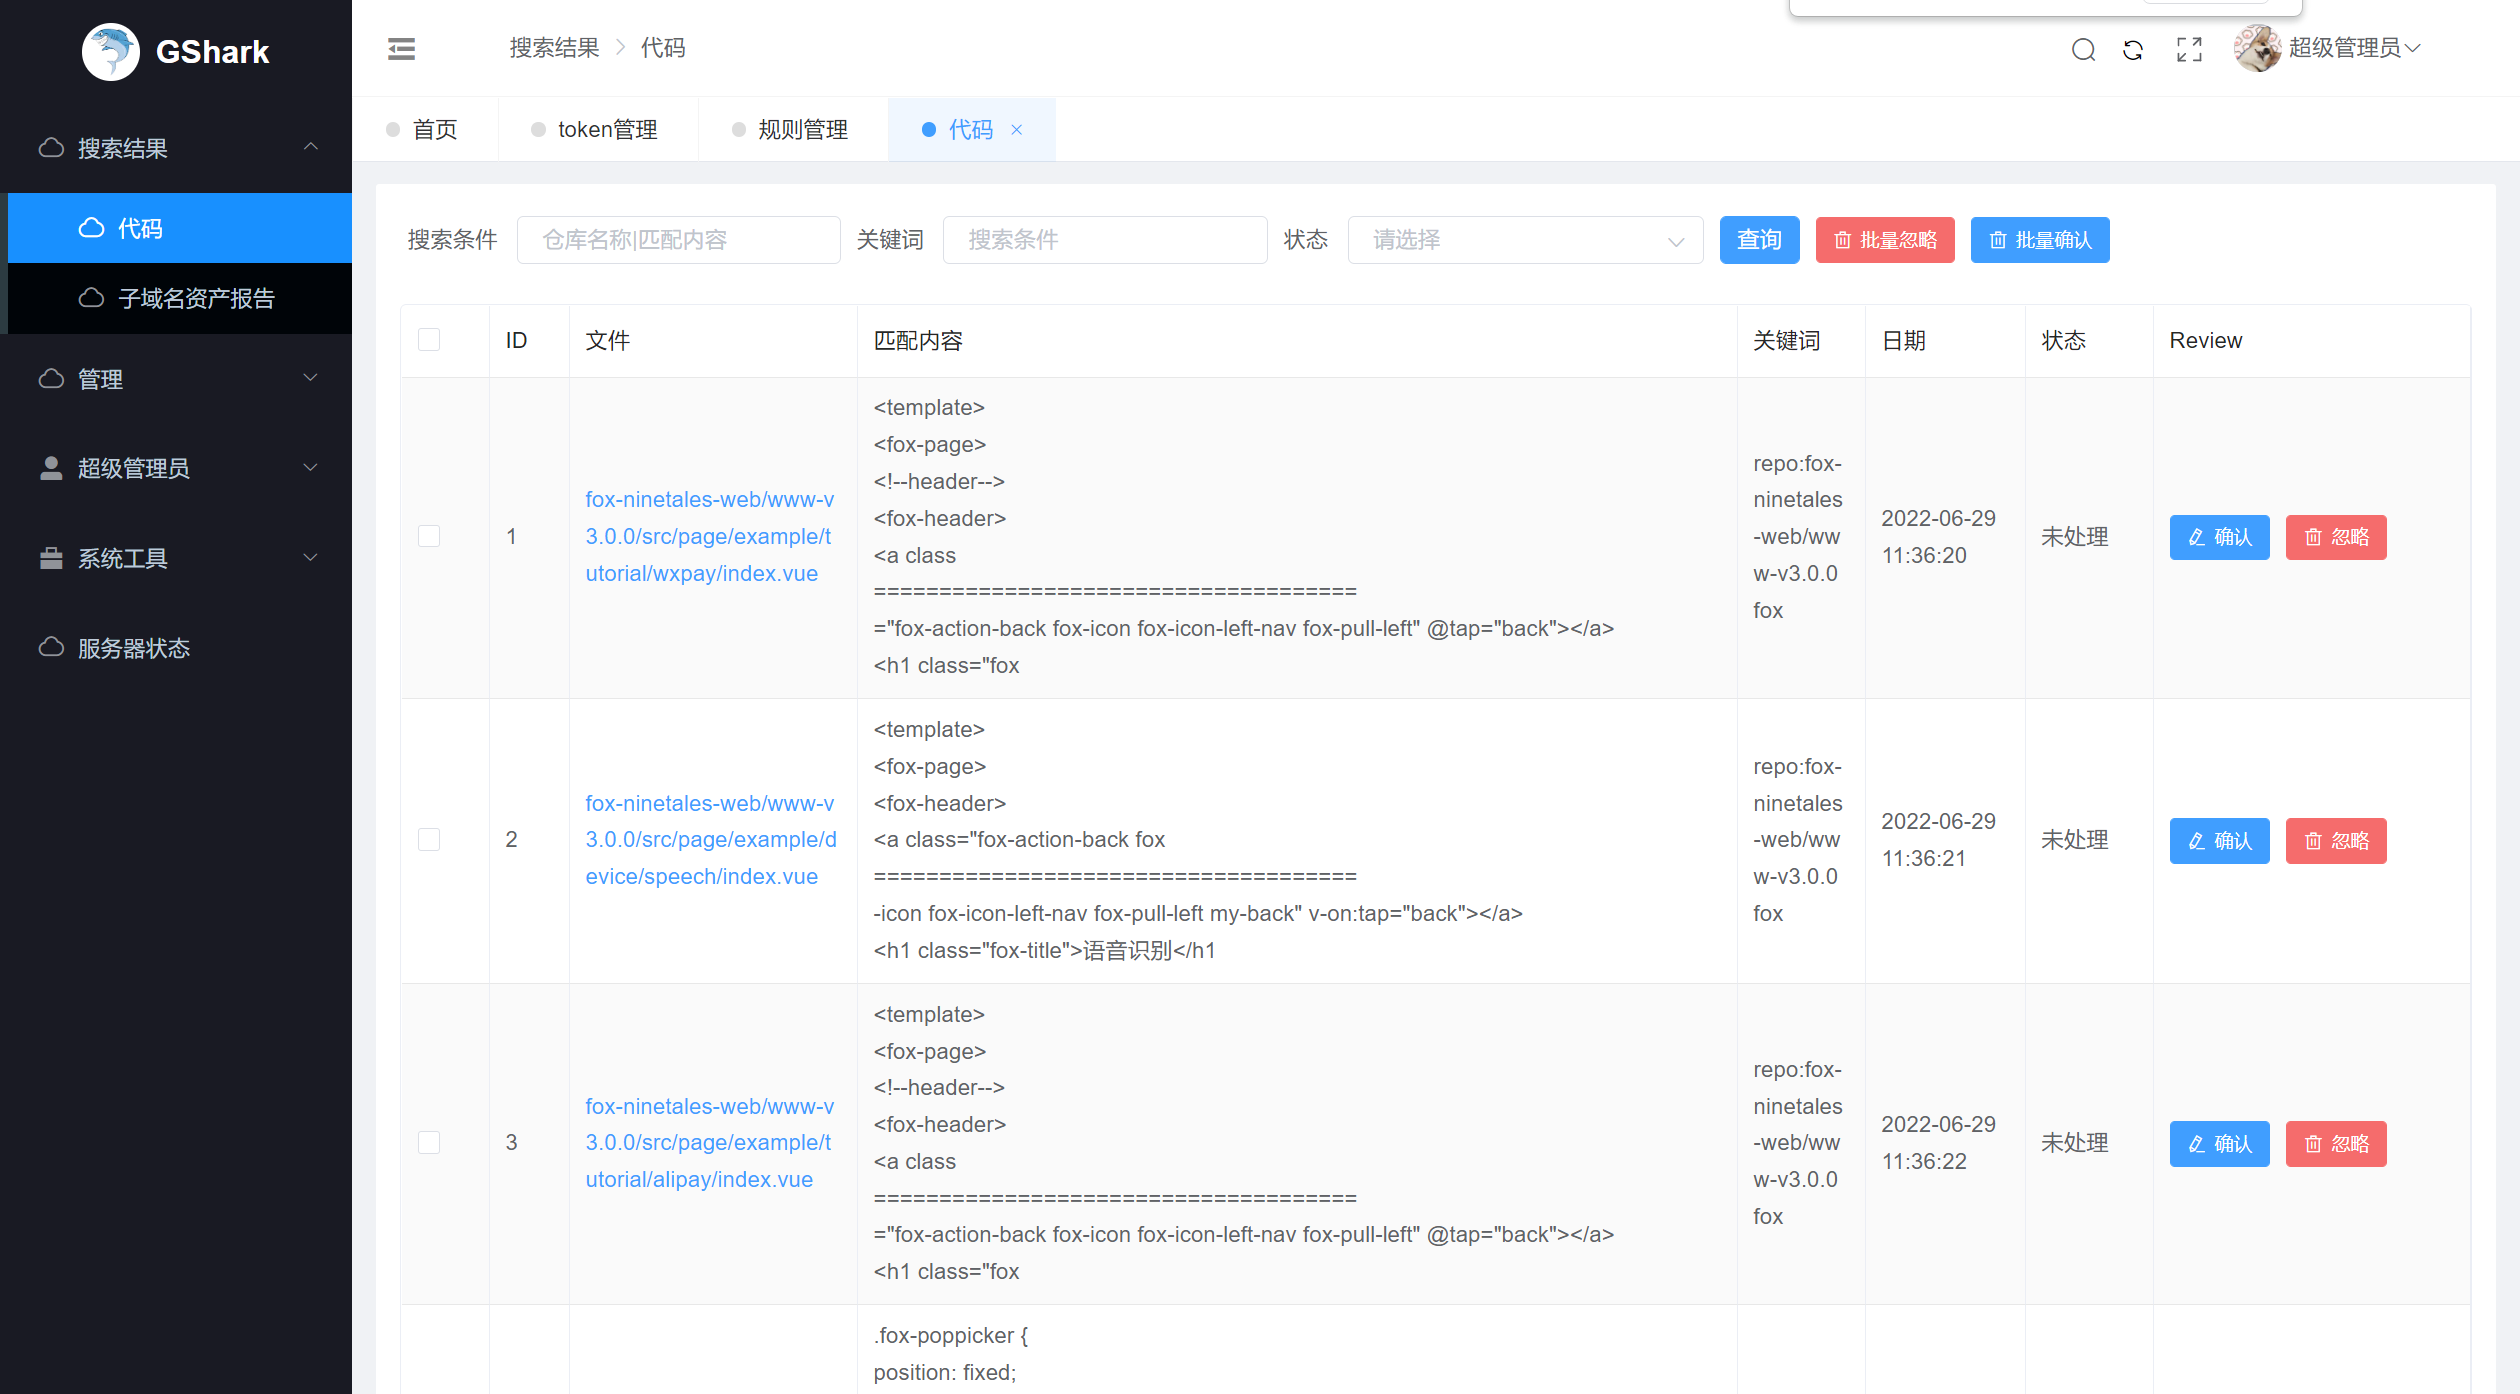
§ 2. 进行代码扫描
使用cmd进入gshark_windows_amd64解压目录,调用 gshark.exe scan 命令,启动gshark的扫描功能,扫描功能耗时比较长,耐心等待即可。
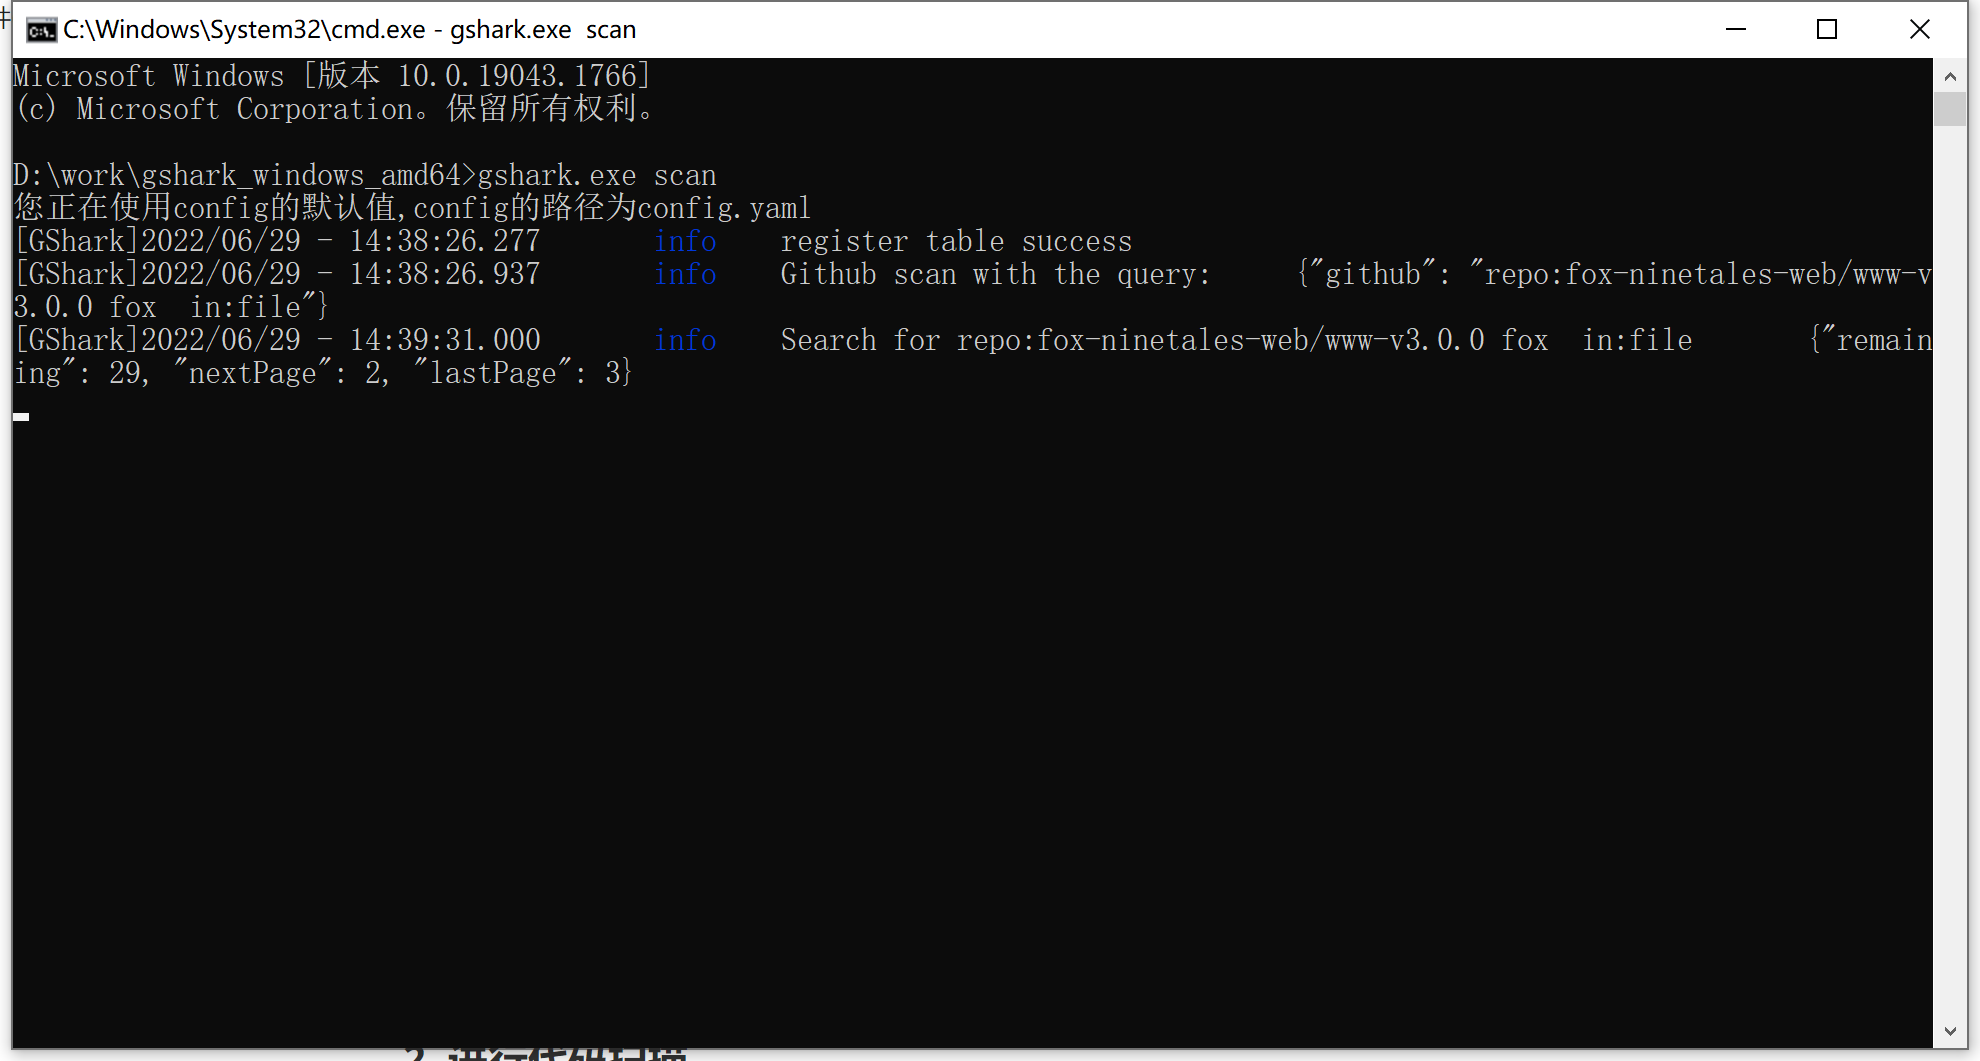
- 扫描完成后,在菜单:搜索结果-代码功能中,可以查看匹配到的结果